WATCH OUR VLOG
"Step-by-Step Guide: How to Stretch a Canvas for Your Next Art Project"
Comprehensive Guide on How to Stretch Your Own Canvas
Eileen A Art
7/28/20253 min read
Introduction to Canvas Stretching
As a visual artist, mastering various techniques and understanding materials is essential for creating art that resonates. One fundamental skill that can enhance your artistry is the ability to stretch your own canvas. This allows you to customize the dimensions of your canvas to fit your unique artistic needs. In this blog post, we will walk you through a step-by-step tutorial on how to stretch your own canvas, ensuring that you have the freedom to create without limitations.
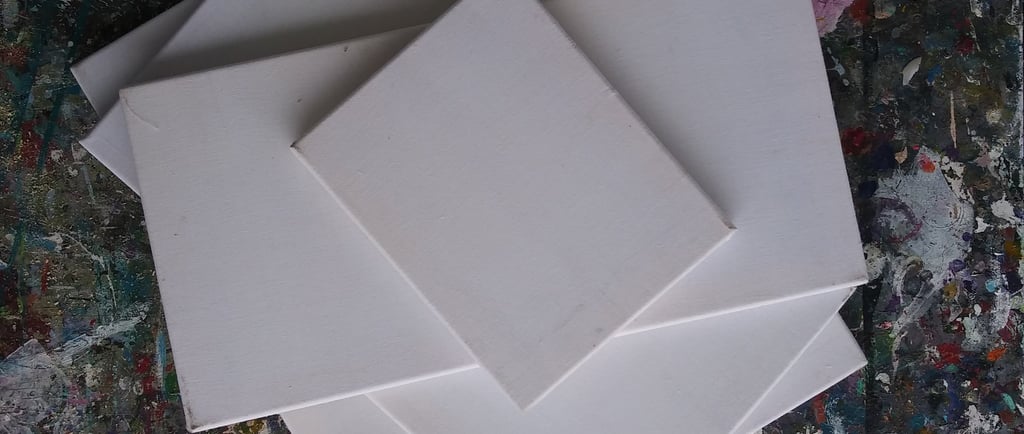
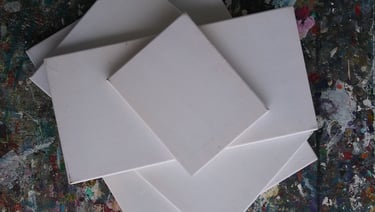
Essential Materials for Canvas Stretching
Before you embark on the canvas stretching process, gather the necessary materials. Having the right tools will not only make the process easier but will also yield better results. Here’s what you will need:
Canvas stretcher bars
Stapler gun
1/4 staples
1 set of hands (and preferably another for larger canvases)
If you are working with larger canvases, consider investing in a canvas stretcher plier, as it will help in stretching the fabric evenly
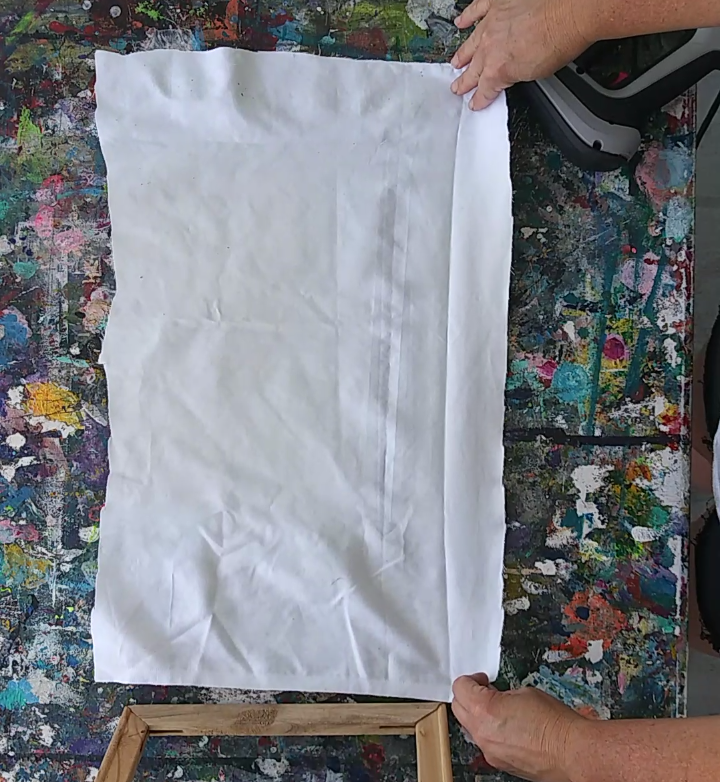
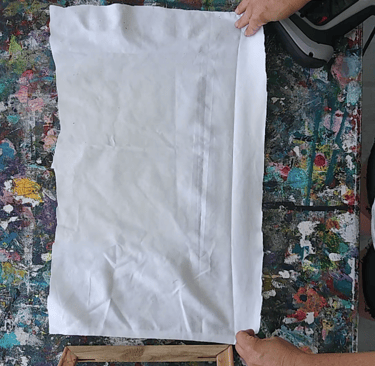
Prepare the Canvas Fabric: Cut your canvas fabric to size. It’s crucial to leave an additional inch and a half beyond the dimensions of your stretcher bars. This extra material allow you enough fabric to wrap around the bars
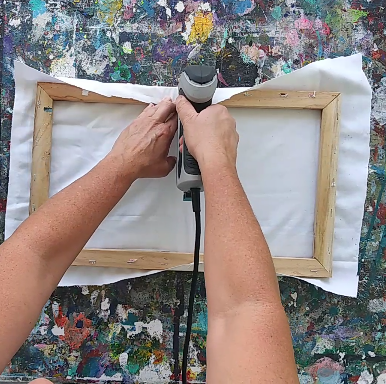
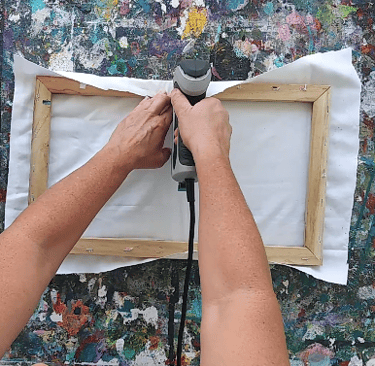
Staple the Canvas: Begin by pulling the canvas taut at the top and stapling it in place. Move to the bottom, pulling the canvas tight and stapling again. Repeat this for the sides. Make sure to work gradually, alternating between the top, bottom, and sides to maintain an even stretch.
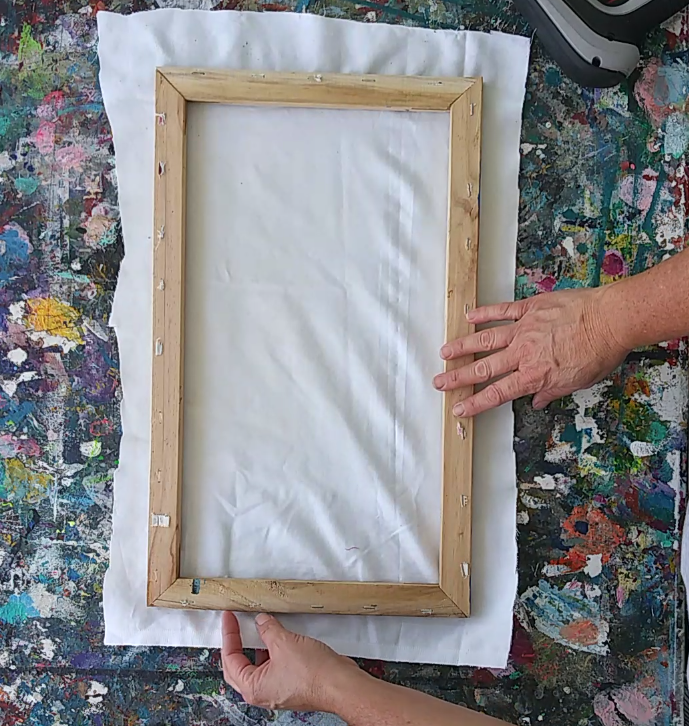
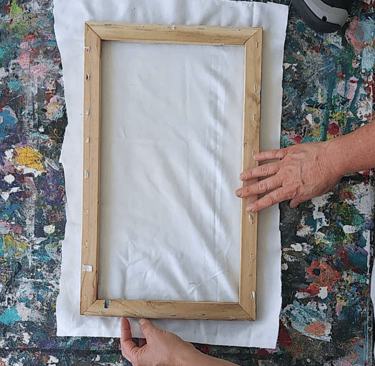
Position the Canvas: Place the cut canvas over the assembled frame, making sure it is centered. This positioning is key to achieving an even stretch.
Step-by-Step Canvas Stretching Process
Now that you have your materials ready, let’s go through the process of stretching your canvas:
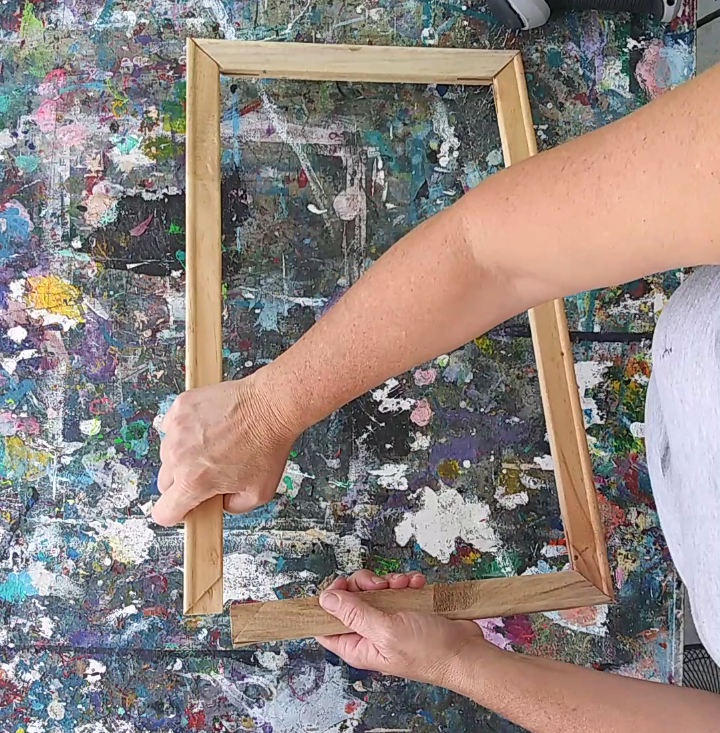
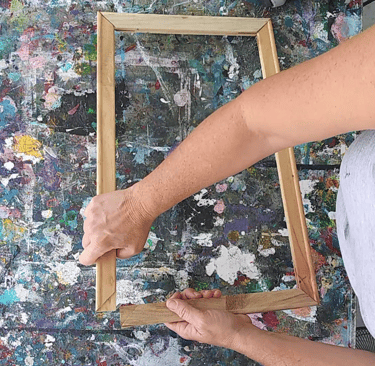
Assemble the Stretcher Bars: Take the canvas stretcher bars and connect them to form the frame. Ensure the corners are secured tightly, as this will provide the necessary stability for your canvas.
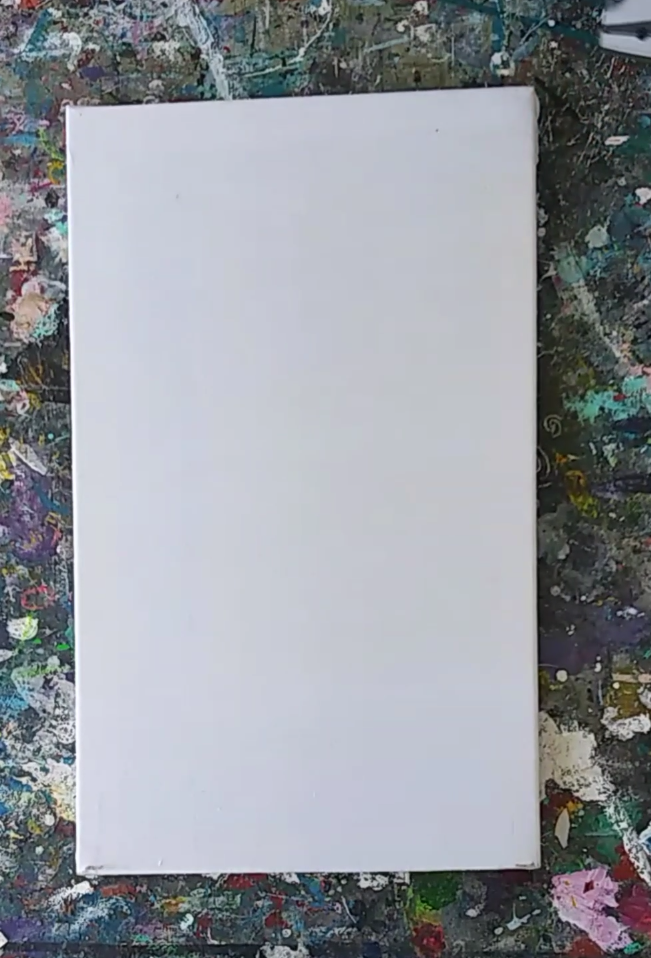
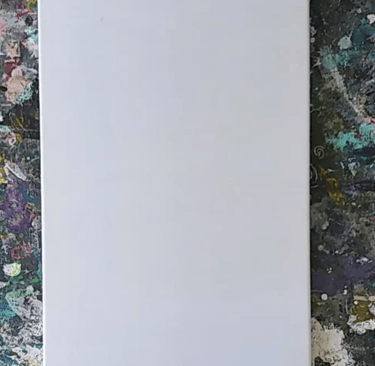
Final Touches: Trim any excess fabric, and if needed, use your canvas stretcher pliers to tighten the canvas further. This final step ensures a smooth surface prepare with gesso and your canvas is ready for your artistic expression.
By following these steps, you will have successfully stretched your own canvas, tailored to your desired size. This skill not only expands your knowledge as an artist but also; Learning how to stretch your own canvas is a valuable skill that every visual artist should possess. It empowers you to create according to your vision, without being restricted by pre-made canvas options. With this easy step-by-step tutorial, you can now confidently prepare your own canvases and focus on what you do best—creating art that inspires.
Thanks for reading Eileen A Art Eclectic blog, Have fun and create!
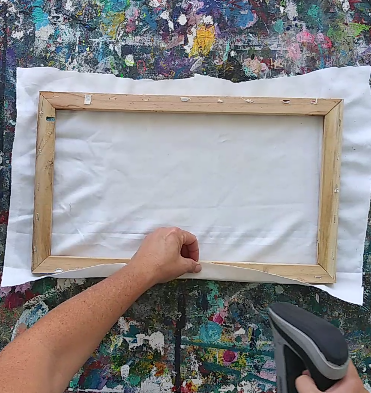
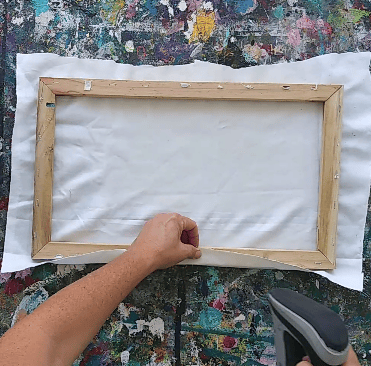

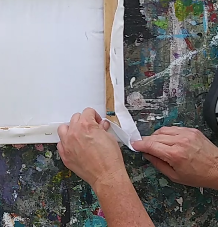
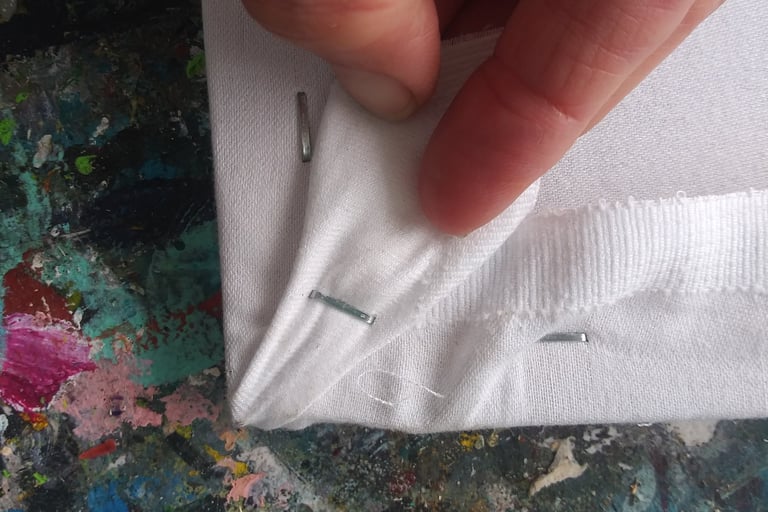
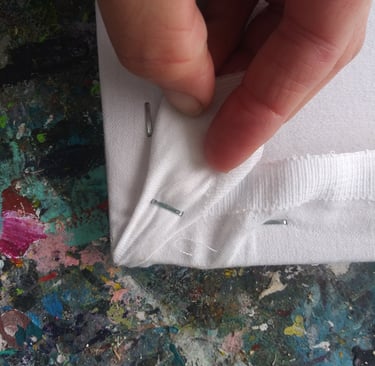
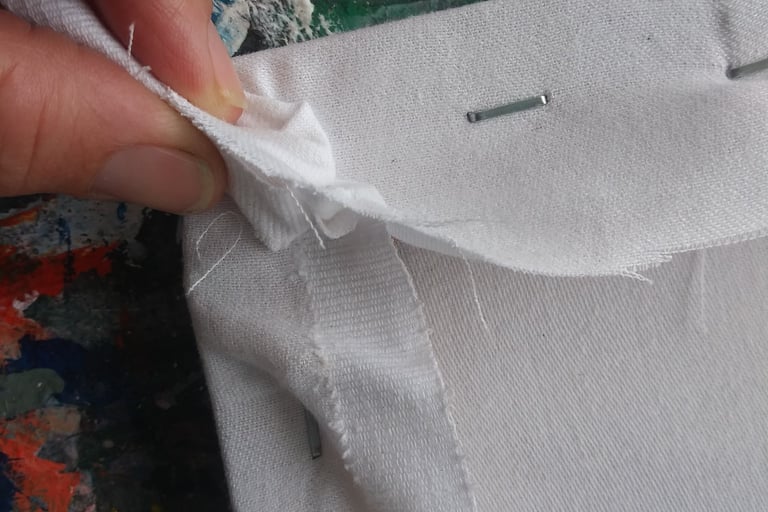
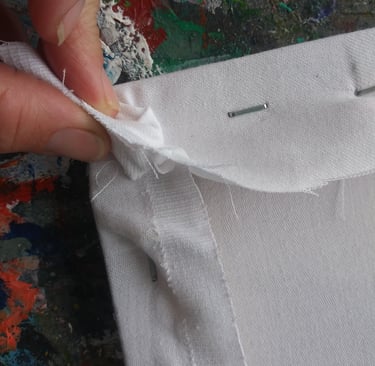
Pay attention to the corner, pull both sides of the fabric and hold with your fingers it will form a triangle. Pull and staple.